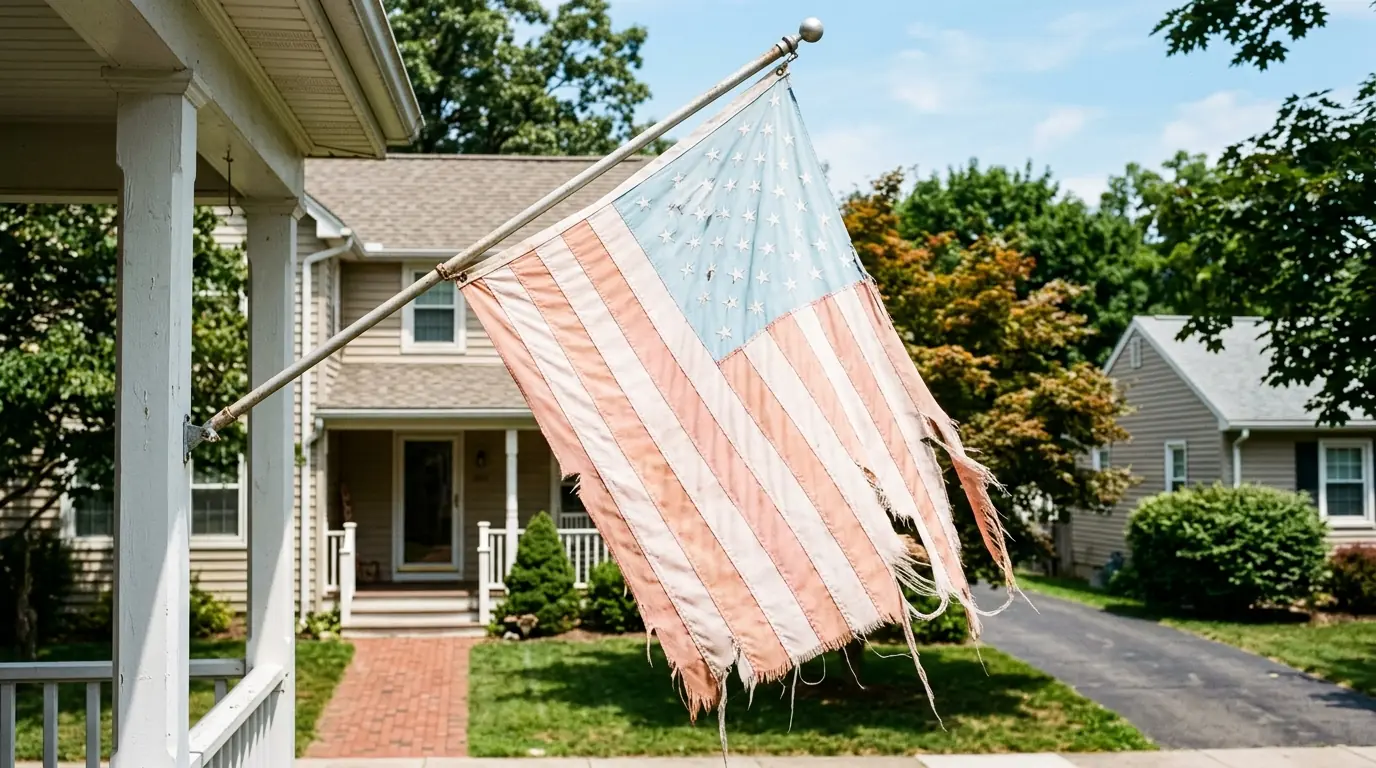
You're halfway through hanging your flag for the season when you notice it — a ragged tear along the fly end, threads trailing in the breeze. Maybe the last windstorm chewed up a corner, or the grommets finally gave out after three years on the pole. Your first instinct might be to order a new one, but hold that thought.
Most flag damage you'll encounter at home is fixable with basic sewing supplies and about an hour of your time. I've repaired flags that looked ready for the trash bin and gotten another full year of display life out of them. This guide walks through the five most common flag repairs, the exact tools and settings you need, and honest guidance on when a flag genuinely can't be saved.
Assessing the Damage: What's Fixable vs What Needs Replacement
Your flag took a beating last storm season, and now you're staring at a ragged fly end wondering whether it's worth saving. The good news is that most common flag damage falls squarely in the fixable category. Minor fraying at the fly end, small tears under six inches, loose seams, and a single missing grommet — all of these respond well to home repair.
Here's a simple test that saves you the guesswork: fold your flag in half, then fold again at the junction where the blue canton meets the stripes. If the stripes still extend beyond the stars section after you'd trim away the damaged area, the flag is worth repairing. If trimming would leave it disproportionate, it's time to retire it.
Some damage just can't be reversed at home. Fabric that's gone see-through from UV degradation has lost its structural integrity — no amount of stitching fixes that. Tears running across more than a quarter of the flag's width compromise too much material to hold. And deep mold damage that survives cleaning has already weakened the fibers beyond repair.
The cost math usually favors repair. A basic repair kit — thread, needle, fabric adhesive, maybe a grommet set — runs $5 to $20. A new 3x5 nylon flag costs $15 to $30, and specialty or larger flags push well past $100. My rule: if the repair supplies cost less than half of a replacement flag, fix it. If they don't, or if the damage affects the flag's dignified appearance even after repair, replace it.
Trimming and Re-Hemming Frayed Fly Ends
The fly end takes the worst punishment on any flag. It's the edge farthest from the pole, constantly whipping in the wind, and nylon fibers start separating there before anywhere else. Catching this early matters — fraying that starts at the edge will creep deeper into the flag body if you ignore it.
Grab sharp fabric scissors (dull ones will chew the fibers worse) and cut a clean, straight line across the fly end, removing all the loose threads in one pass. Don't try to trim individual strands. You want a fresh, even edge to work with.
Now create a double-fold hem. Fold the raw edge over about half an inch toward the back of the flag and press it flat with your fingers or a low-heat iron. Fold it again by the same amount so the raw edge is completely hidden inside. Pin every two to three inches to keep things from shifting.
For machine sewing, set your stitch length to 2.5 to 3 millimeters and run a straight stitch about an eighth of an inch from the inner fold edge. Backstitch half an inch at the start and end — this locks the seam so wind can't pull it apart. Pay extra attention to the corners with three or four additional passes, since corners catch the most tension during gusts.
If your fabric is slippery nylon, a Teflon presser foot prevents bunching. A dense zigzag stitch works as an alternative on sections where the fabric is already thinning.
Yes, this repair shortens the flag by one to two inches depending on your fold depth. That trade-off is worth it — a properly re-hemmed fly end can add months or even years of display life.
Patching Tears and Holes with Backing Fabric
Patching requires a bit more patience than hemming, but the technique is straightforward once you understand the core principle: the patch goes behind the flag face, not on top of it. Done right, the repair is nearly invisible from the front.
You'll need a seam ripper, straight pins, heavy-duty backing fabric in a matching color, a washable glue stick, matching polyester thread, and sharp scissors. A sewing machine with a darning foot makes this significantly easier than hand sewing, though hand stitching works for small tears if you're patient.
Start by using the seam ripper to open the top or side seam just enough that you can lay the damaged area flat under your machine needle. Cut your backing fabric at least one inch larger than the tear on all sides — this gives the stitching enough material to grip.
Apply a washable glue stick to tack the backing patch to the inside of the flag at the damaged area. Pin the edges to keep it from shifting during sewing. Install your darning foot, select the darning stitch, and begin stitching on strong fabric away from the hole. Work in short, overlapping horizontal and vertical rows to close the gap. Don't pull the fabric taut — let it feed naturally to avoid puckering.
For frayed edges around the tear, switch to a zigzag stitch for extra reinforcement. Once the damaged area is fully covered, re-pin and straight-stitch the seam closed to reassemble the flag.
The whole process takes roughly an hour and a half per patch. That might sound like a lot, but consider this: a flag with a four-inch tear in a red stripe costs you ninety minutes and maybe $3 in materials to fix. Replacing it costs $20 or more and a trip to the store.
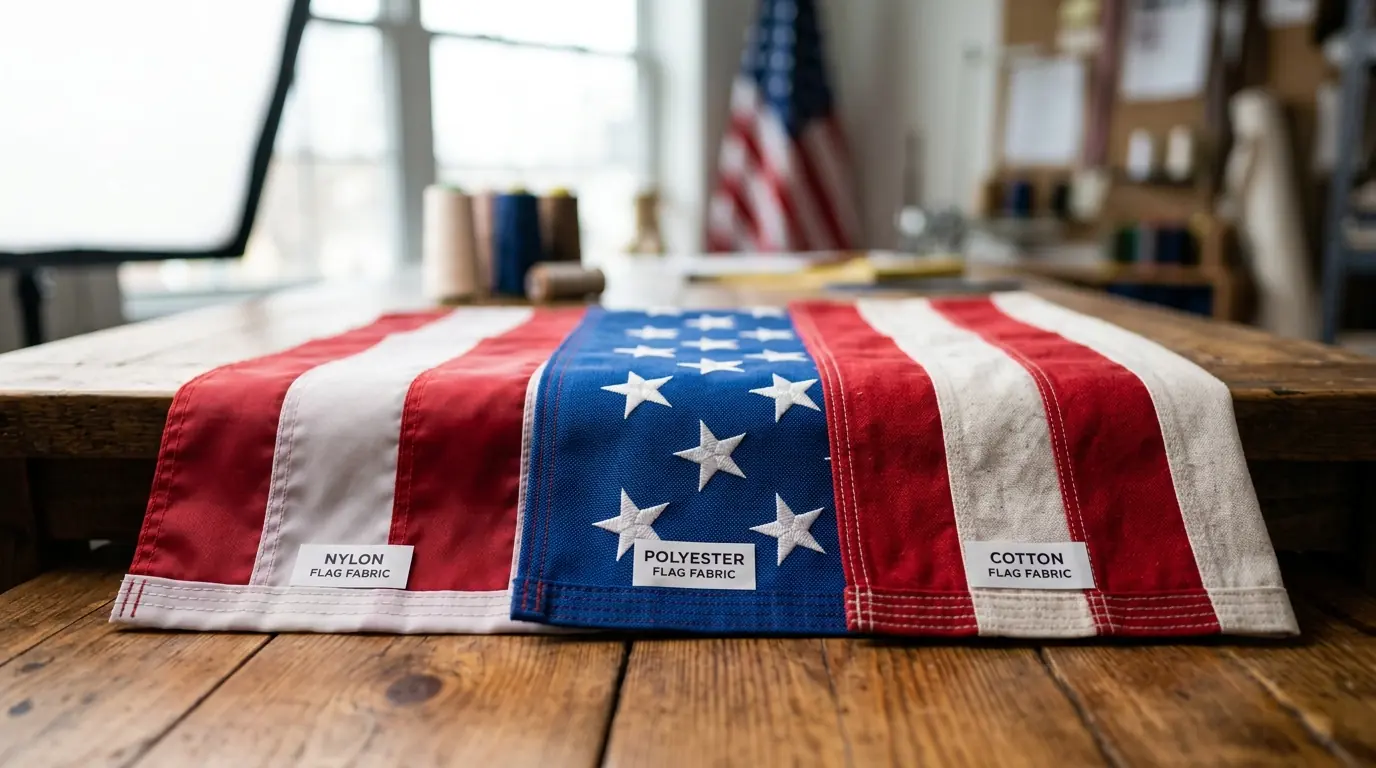
Sewing Machine Settings and Thread Selection for Flag Fabrics
Getting your machine settings wrong is the fastest way to ruin a flag repair. I've seen people jam their machines or pucker the fabric badly because they treated flag nylon like regular cotton quilting fabric. These materials behave differently and need specific adjustments.
Thread choice matters more than most people realize. Use 100% polyester thread — not cotton, which degrades rapidly outdoors under UV and rain exposure. Size Tex 70 (also labeled size 69) is the largest thread most home machines handle without jamming. It gives you strong, weather-resistant seams that hold up through seasons of wind and sun. Always use the same thread type and weight in both the bobbin and the top spool. Mismatched thread creates tension imbalances that cause puckering.
Needle selection depends on the flag fabric. Lightweight nylon flags need a Universal or Microtex sharp needle in size 70/10 — the sharp point penetrates tightly woven nylon without snagging. Medium-weight polyester flags work best with an 80/12 to 90/14 needle. Heavier polyester or cotton flags call for a 100/16 denim needle that won't bend under the thicker layers.
For machine tension, reduce slightly from your default setting — try 3 to 4 instead of the standard 4 to 5 range. Test on a scrap piece first. Lower presser foot pressure helps too, especially with slippery nylon. If your machine has a Teflon foot, use it.
Sew slowly. Rushing causes uneven stitches and puckering on lightweight flag fabrics. A steady, moderate speed produces uniform stitches that look better and hold stronger.
Match the stitch type to the repair: straight stitch for seams and hems, zigzag for edge reinforcement and fraying prevention, darning stitch for patching holes with backing fabric. On high-stress areas, run a second parallel row of stitches for extra durability.
Replacing Damaged Grommets with a Brass Grommet Kit
A missing or bent grommet makes it impossible to hang your flag properly, and a flag that flaps loose from one attachment point wears out faster from uneven stress. The fix is one of the more satisfying home repairs — it takes about fifteen minutes per grommet and the results are solid.
Pick up a brass grommet kit with size #4 grommets (half-inch diameter), which is the standard for most flags. Brands like General Tools or Anley sell complete kits for $10 to $15 that include the grommets, matching washers, a hole punch, a setter tool, and an anvil base. You'll also need a household hammer and a piece of scrap wood to work on.
Mark your grommet position on the flag header. If you're replacing an existing grommet, carefully cut or pry out the damaged one first. Check the fabric around the old hole — if it's torn or weakened, layer an extra piece of fabric underneath before proceeding. Skipping this step means the new grommet will pull through under wind load, and you'll be doing this again in a few weeks.
Place the fabric on your scrap wood, center the hole punch on your mark, and hammer firmly to create a clean round hole. Push the grommet barrel up through the hole from the underside of the header. Place the flat washer over the barrel on the top side, then stack the whole assembly on the anvil.
Set the flaring tool over the grommet barrel and strike it with the hammer. Rotate between the 12, 3, 6, and 9 o'clock positions for even crimping. Keep striking until the washer is tight and the grommet feels completely solid. Test by pulling firmly — it should not rotate or pull through.
Brass is the right material here because it resists rust even in constant rain and humidity. Steel or iron grommets corrode and leave stains on the fabric that no amount of cleaning removes.
Pro Tip: If your flag is beyond repair, contact us for bulk replacement flags with reinforced grommets and double-stitched hems built for long outdoor use.
Reinforcing Seams and Stress Points to Prevent Future Damage
Fixing the immediate damage is only half the job. If you don't reinforce the weak spots, you'll be doing the same repairs again within a few months. A flag that's been repaired once deserves the extra thirty minutes of preventive work that keeps it flying longer.
Start with a full seam inspection. Check the header seam where the flag connects to the pole sleeve, the side seams, and any stripe seams. Look for thread that's pulled loose, gaps between stitches, or sections where the thread has degraded from sun exposure. Re-stitch any loose seams with UV-resistant polyester thread using a straight stitch or zigzag. Double-stitching — running a second parallel row — adds meaningful durability on areas that take heavy wind load.
The corners where grommets meet the header are the highest stress points on any flag. Add reinforcement stitching here with three to four additional passes in a cross pattern. This is cheap insurance against the most common failure point.
For the fly end, consider adding a strip of nylon webbing between the fabric layers inside the hem. Sailmakers and tent makers use this same technique for wind-stressed edges, and it works remarkably well on flags. It makes the fly end significantly more resistant to future fraying.
After any trimming or cutting, apply fray-check liquid or clear fabric sealant to the cut edges. This bonds the loose fibers and prevents unraveling at the microscopic level — something that stitching alone can't fully address.
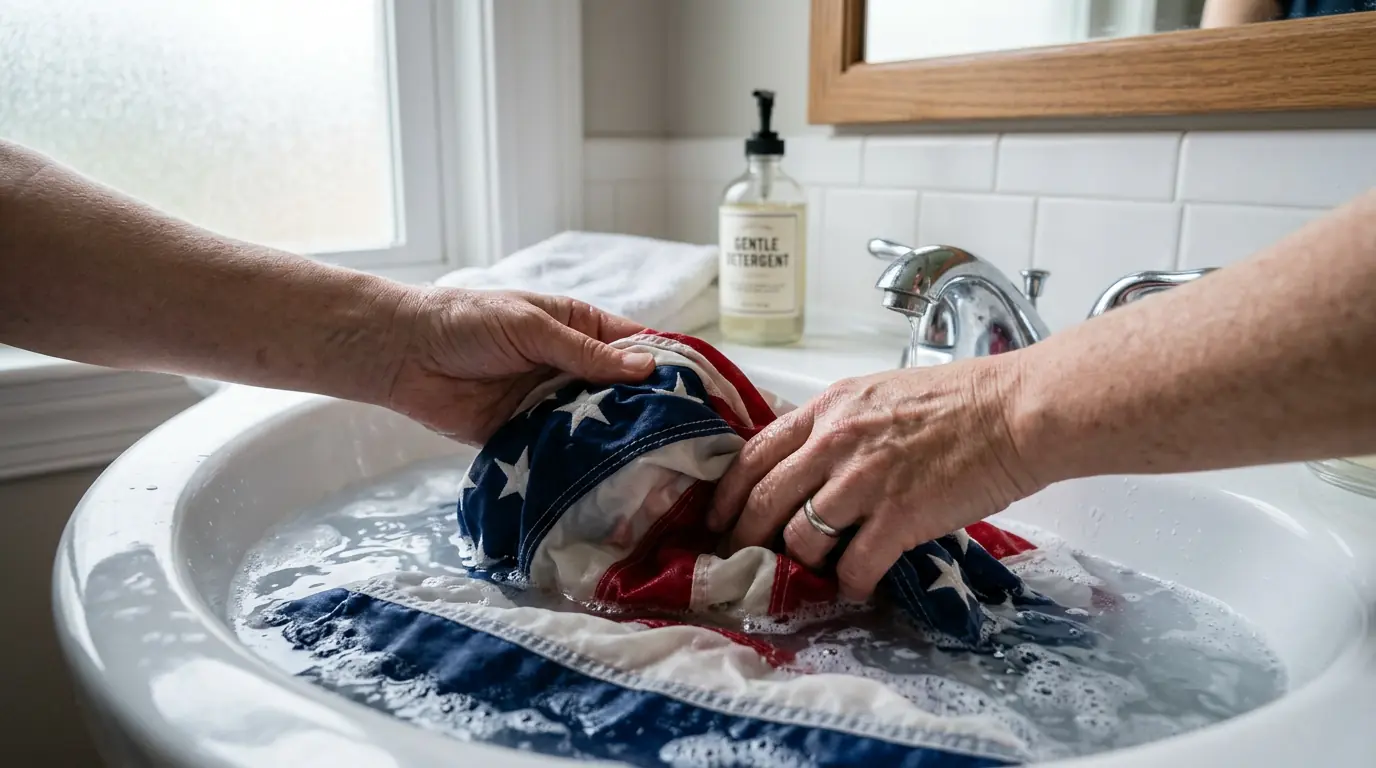
One last thing worth considering: even a well-repaired and reinforced flag has limits. Take your flag down during severe storms and sustained winds above 40 mph. Store it loosely folded in a dry location away from direct sunlight when not displayed. The repair work you just did will last significantly longer with basic weather awareness.
Where to Start
Pick the repair that matches your flag's worst problem and tackle that one first. Frayed fly ends are the easiest starting point if you've never sewn flag fabric before — the double-fold hem technique builds confidence for trickier patches and grommet work.
Stock up on UV-resistant polyester thread, a pack of size 70/10 to 100/16 needles, and a $12 brass grommet kit. These three supplies cover ninety percent of home flag repairs and cost less than a single replacement flag. Keep them together in a small box so they're ready next time a storm does damage.
If your flag fails the fold test from the first section — or if the fabric has gone thin and translucent from sun exposure — skip the repair and retire it properly. There's no shame in replacing a flag that served its time. But for everything else, the fix is usually simpler than you'd expect.
Video Guide: Flag Repair Techniques
Related Articles