You’ve decided to order custom flags — maybe for a product launch, a trade show booth, or a retail chain rollout — and now you’re staring at a manufacturer’s order form wondering what half the fields mean. What’s a “header finish”? Do you actually need Pantone colors? And why does the quote change every time you update the quantity?
This guide walks through the full custom flag manufacturing process from the buyer’s side. Not the factory’s workflow — yours. What to prepare before reaching out, how to read pricing tiers, which material decisions actually matter, and where first-time buyers most often lose money or time.
What to Prepare Before Contacting a Flag Manufacturer
Most first-time buyers reach out to manufacturers way too early — before their artwork is production-ready, before they know what size they actually need, and sometimes before they’ve even settled on a material. That initial email gets a polite response asking for specs, and then the order sits in limbo for a week while you scramble to figure out what a “vector file” means.
The single biggest time-saver is having your design in a vector format — AI, EPS, or PDF. If all you have is a JPEG or PNG, the factory can sometimes convert it, but the results depend on how clean your original is. Anything below 300 DPI for raster files will look fuzzy at full flag size, and that’s not something a manufacturer can fix without redrawing your design from scratch.
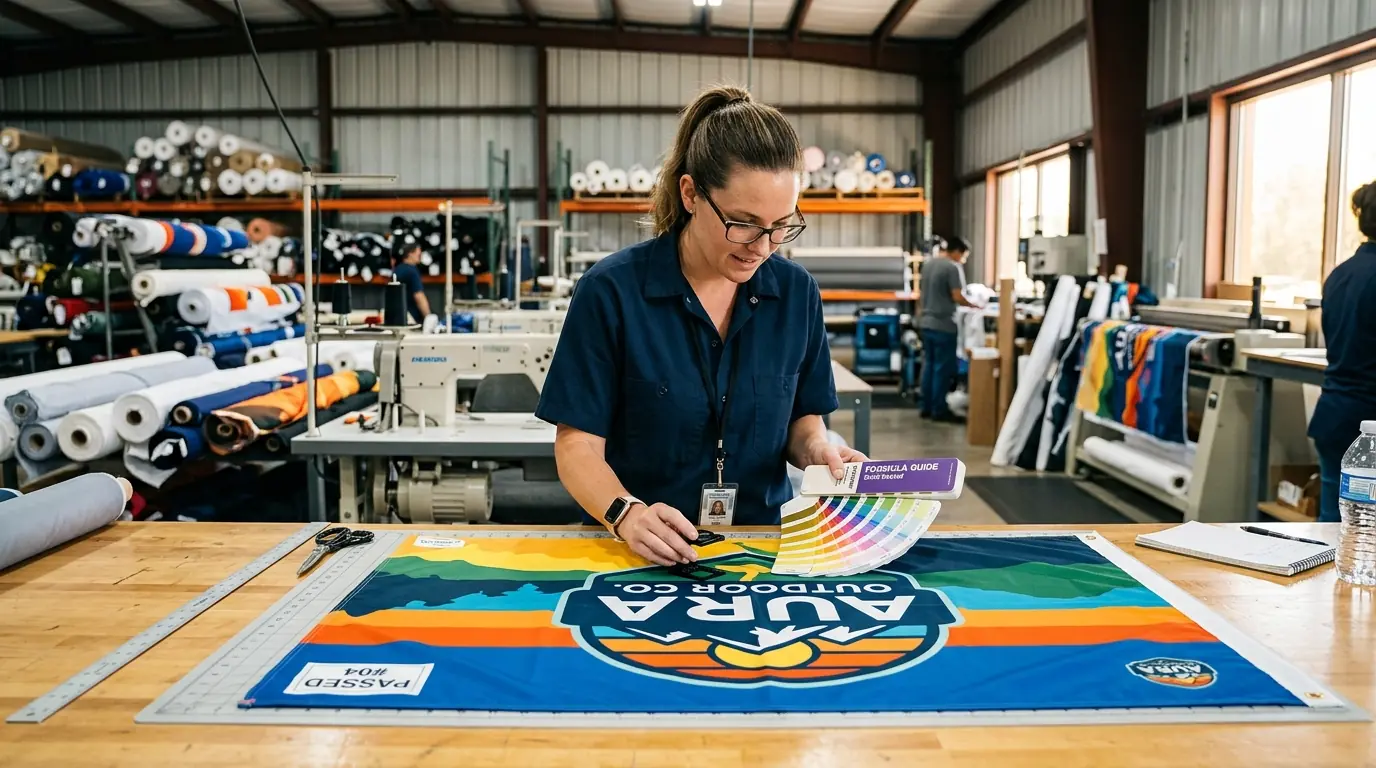
Color is where most delays actually happen. Factories work in CMYK or Pantone, not RGB. If you send an RGB file, the manufacturer will convert it, and the output will look different from your screen — sometimes dramatically. A navy blue can shift toward purple. A bright orange can go muddy. The safer move is to specify Pantone colors upfront, even if it means an extra step on your end. For orders where exact brand colors matter, this is non-negotiable.
Your spec sheet should also include the finished size, bleed allowance (usually half an inch to an inch), and finishing details like grommets or pole sleeves. A standard 3x5 foot flag typically uses about 1.25 yards of 150D polyester with a reinforced header strip and two brass grommets — but if you don’t specify that, you’ll get whatever the factory defaults to. Missing even one of these specs can delay your quote by several days.
Spec Sheet Checklist
Design file (vector: AI/EPS/PDF) • Pantone color references • Finished dimensions • Bleed allowance • Material type & weight • Finishing (grommets, pole sleeve, header strip) • Single or double-sided • Quantity per design
Understanding MOQ: The Numbers That Actually Matter
Minimum order quantities trip up almost every first-time buyer, and not in the way you’d expect. The real issue isn’t that MOQs exist — it’s that they vary wildly depending on the printing method, and the pricing tiers above the minimum are where the actual savings live.
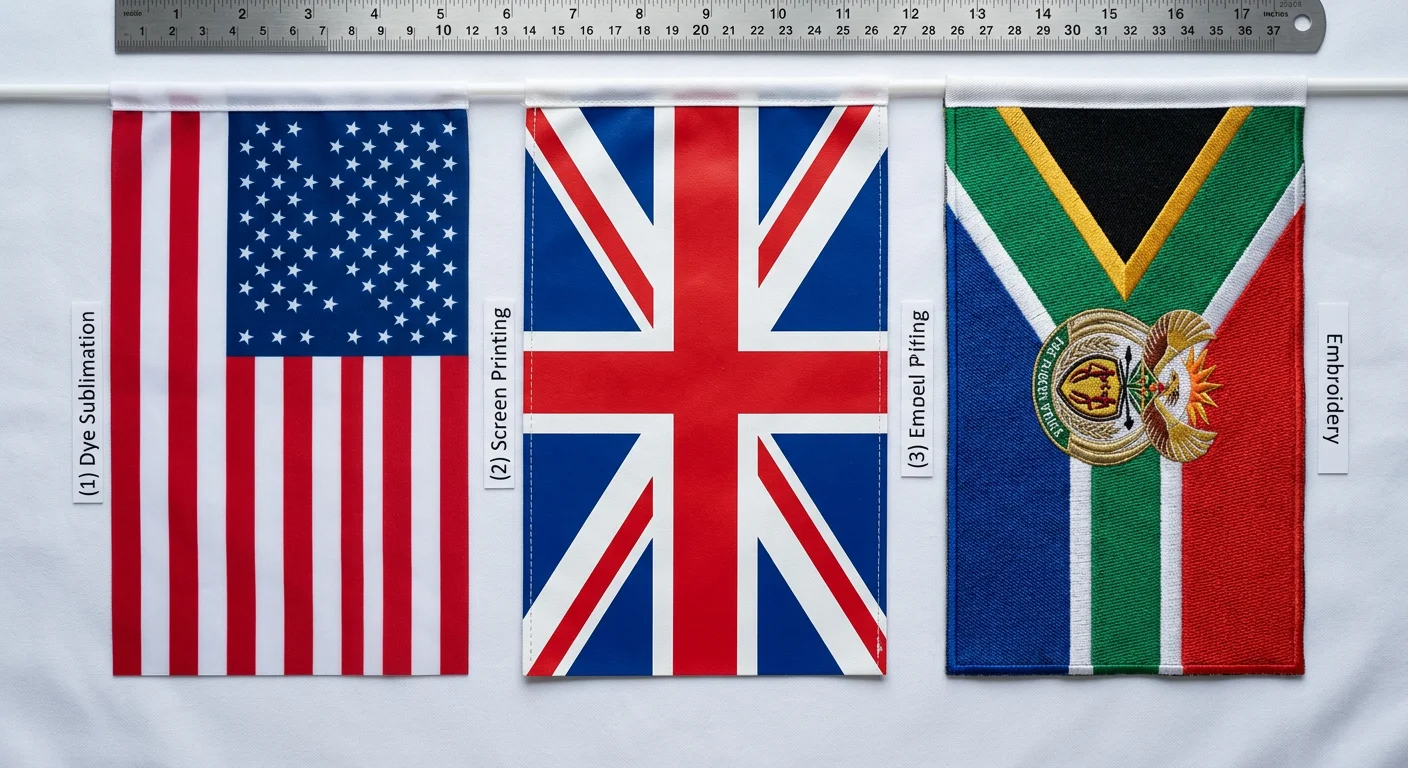
For dye-sublimation printing, most manufacturers set the floor around 50 pieces per design. Sewn or embroidered flags push that higher, often somewhere between 100 and 300 units. But here’s what matters more than the minimum: the price break at 100 pieces is significant. Below that threshold, you’re typically paying $3.50 to $4.50 per flag. Cross it, and the per-unit cost drops to $2.00–$2.80. That’s a 30–40% reduction, which means ordering 100 flags can actually cost less total than ordering 75.
$3.50–4.50
Under 100 pcs
$2.00–2.80
100–300 pcs
$1.00–1.80
300–500 pcs
The jump from 300 to 500 pieces brings another meaningful drop, usually into the $1.00–$1.80 range. Beyond 500, pricing compresses and you’re negotiating fractions of a dollar. If your order naturally falls just below a tier threshold — say 85 or 90 pieces — it’s almost always worth bumping up to hit the next bracket, even if you don’t immediately need the extras.
Setup fees typically run $49–$65 for a new design and are usually waived on reorders. Worth asking about upfront, because some factories bury this in the quote and some don’t mention it until the invoice.
Choosing the Right Material Before You Commit
Material choice is one of those decisions that seems simple until you realize it affects cost, durability, print quality, and how the flag actually behaves in wind. Most buyers default to polyester because it’s the standard, but “polyester” covers a wide range.
100D and 150D polyester are the workhorses for promotional flags and indoor displays. They’re lightweight, print well with dye-sublimation, and cost the least. For anything that’s going to hang indoors at a trade show or in a retail window, this is the right call. No reason to over-spec.
Nylon is the material most people overlook. It dries faster than polyester, holds dye colors more vividly, and flies better in light wind because it’s lighter. The tradeoff is price — typically 15–25% more than equivalent polyester. For outdoor flags in areas without heavy wind, nylon often outperforms polyester in both appearance and longevity. But it wears out faster in sustained high wind.
Polyester (100D–150D)
- Most affordable option for bulk orders
- Excellent dye-sublimation print quality
- Best for indoor and trade show use
- Heavier variants (200D–300D) resist high wind
Nylon
- Vivid color retention, dries faster
- Flies better in light wind (lighter weight)
- 15–25% higher cost than polyester
- Wears out faster in sustained high wind
That wind threshold is the real decision point. If your flags will regularly face winds above 15 mph, move up to 200D or 300D material. The heavier fabric resists tearing and fraying much better. For really demanding environments — construction sites, waterfront locations — 600D Oxford cloth is worth the premium even though it doesn’t take printed graphics as well.
One more consideration that catches buyers off guard: double-sided printing adds 60–80% to the cost. Unless your flag absolutely must read correctly from both sides, a single-sided flag with mirror bleed-through is the standard approach and perfectly acceptable for most commercial uses.
How to Request a Quote That Gets a Useful Response
A bad RFQ gets a vague quote back, and then you spend another week going back and forth clarifying details. The manufacturer isn’t being difficult — they’re just working with incomplete information.
The items that actually matter in your RFQ: exact dimensions, quantity per design, material preference, printing method (if you have one), finishing details, whether your artwork is final, any Pantone references, your target delivery date, whether you need a sample first, and where the shipment is going. That last one matters because shipping costs vary enormously based on destination, and a manufacturer who quotes you FOB China when you need DDP to Ohio hasn’t really given you a useful number.
When you get quotes back, ask for itemized breakdowns. A single lump number doesn’t tell you where the cost is actually concentrated — is it the material, the printing, the finishing, or the freight? Without that breakdown, you can’t make meaningful comparisons between suppliers, because they might be quoting different materials or different shipping terms.
Payment terms follow a fairly standard pattern: 30–50% deposit via wire transfer, balance before shipping. For orders over $10K, a letter of credit gives you more protection but adds paperwork. PayPal is convenient but eats 3–4% in fees, which on a large order adds up fast. Most experienced buyers stick with T/T for orders under $10K and switch to LC above that — the transaction cost of setting up an LC only makes sense at a certain scale.
Samples: When to Order Them and When to Skip
Samples cost somewhere between $40 and $120 each depending on complexity, and that cost is usually credited against your bulk order. The question isn’t whether samples are expensive — it’s whether skipping them is more expensive.
For a first-time order with a new manufacturer, a sample is non-negotiable. You have no baseline for their print quality, color accuracy, or finishing standards. The same goes for orders where precise color matching matters — Pantone swatches on screen and Pantone on polyester fabric are not the same thing. And for large orders above 500 pieces, the cost of a sample is trivial compared to the cost of receiving thousands of flags in the wrong shade.
Where samples genuinely aren’t necessary: repeat orders with the same manufacturer using the same specs, simple black-and-white designs where color accuracy isn’t a concern, or situations where your timeline is so tight that waiting for a sample would blow the delivery window entirely.
The timing trap most buyers fall into is treating the sample as a sequential step. They wait for the sample, approve it, and only then start thinking about logistics — shipping method, customs documentation, warehousing. A better approach is to run logistics planning in parallel with the sample phase. The sample-to-bulk pipeline easily takes three to four weeks, and if you start your shipping research after approval, you’ve added unnecessary dead time.
Production Lead Times and Shipping: Planning Your Timeline
The number that catches first-time buyers off guard is the total door-to-door timeline for overseas orders: five to seven weeks from the moment you approve the proof to the moment boxes arrive at your warehouse. Not five to seven business days. Weeks.
That breaks down roughly like this:
1–3d
Artwork Finalization
Assuming your files are production-ready
7–14d
Production + QC
Printing, finishing, quality control inspection
14–21d
Ocean Freight
Export docs + sea transit time
2–5d
Customs Clearance
Depends on port and paperwork quality
Rush production is available from most manufacturers, but it comes at a 30–50% surcharge and only compresses the factory time — it doesn’t make the ship move faster. Air freight is the real accelerator, cutting transit from weeks to days, but the cost jumps to $2–$5 per kilogram. For lightweight flag orders, air freight can be surprisingly reasonable. A shipment of 500 standard polyester flags might weigh around 80–100 kg, so you’re looking at roughly $200–$500 for air versus waiting an extra three weeks for sea freight.
Rush Production
30–50% surcharge, only compresses factory time
Air Freight (500 flags)
$200–$500 total, saves 3 weeks vs sea
The most common planning mistake is working backward from a hard deadline without building in any buffer. If your flags are for a July 4th event, starting the process in mid-May is already risky. Late April gives you breathing room for one round of revisions without panic.
Planning a bulk flag order? Get an itemized quote with full timeline breakdown — request your free quote here. Most quotes delivered within 24 hours.
Common Mistakes First-Time Buyers Make
Wrong file format is the single most frequent cause of delays. Buyers send a low-resolution logo pulled from their website and expect it to print cleanly on a 3x5 foot flag. It won’t. Get the original vector file from whoever designed your logo — if it doesn’t exist, budget for a professional redraw before you even contact a manufacturer.
The MOQ tier mistake is subtler but costs real money. Ordering 90 flags when 100 would drop your per-unit cost by 30% doesn’t make sense, but buyers do it constantly because they’re focused on what they need right now rather than what the pricing structure rewards.
Specifying colors in RGB instead of Pantone is another classic. The manufacturer will produce what you approve, and if you approved an RGB proof on your laptop screen without converting to Pantone, the printed result is going to look different. This isn’t the manufacturer’s fault.
Skipping written proof approval on large orders is the mistake with the highest potential cost. A verbal “looks good” over email doesn’t protect you if the factory prints the wrong version. Insist on a signed-off proof — digital is fine — with the exact Pantone values, dimensions, and finishing details confirmed in writing.
Underestimating the full timeline is so common it barely qualifies as a mistake anymore — it’s more like a rite of passage. But the financial consequences are real. Wrong fabric choice on a large run can mean a full reprint at your expense. Wrong dimensions for a regulated display can mean compliance fines. These aren’t theoretical risks — they’re the kinds of problems that turn a profitable promotional campaign into a budget hole.
If you’re placing your first custom flag order, the sequence that saves the most headaches is: lock your artwork in vector format with Pantone colors first, get itemized quotes from at least two manufacturers at a quantity that hits a meaningful price break, and order a sample before committing to bulk — unless your timeline genuinely can’t absorb the extra three weeks.
For buyers who’ve done this before and are switching manufacturers, the priority shifts. Focus on getting a sample to calibrate the new factory’s color accuracy and finishing quality. Everything else is a known quantity.
Start your timeline planning at least seven weeks before you need flags in hand. If you’re working with a hard event date, add two weeks of buffer on top of that. The single most expensive mistake in custom flag manufacturing isn’t choosing the wrong material or overpaying per unit — it’s starting too late and paying rush fees that could have been avoided entirely.
Related Articles