Hoisting a flag outside your home brings pride. It creates an instant focal point. You honor tradition with a personal statement. But let’s be honest. We’ve all seen displays that fail. Flags wrap around poles. They droop onto bushes. Some even sit in the dark after sunset.
It takes more than sticking a pole in the ground. A proper display needs structural balance. Wind loads can snap cheap hardware. Your home's scale dictates pole height. Also, strict etiquette rules apply. Homeowners often break them by mistake. A flag must breathe. It needs visibility. Above all, keep it secure.
You might want a subtle touch on your front porch railing. Or maybe you plan for a permanent 25-foot landmark in the front yard. Details matter either way. This guide covers placement mechanics. We explain the math behind pole-to-flag ratios. You'll find the hardware needed to keep your flag flying free. Fly it respectfully in any season.
Front Porch or Main Entrance
Your front porch gets noticed first. Visitors see it before anything else. It's where you take photos and hang out year-round. So flag placement matters here.
Porches are making a comeback. In 2022, 66.4% of new homes included porches—the highest share since 2005. Regional trends show even stronger numbers: 80% in East South Central states, 78% in Pacific regions, and 73% in New England. These aren't small stoops anymore. Modern screened porches average 200+ square feet. They come with outdoor heaters, fireplaces, and drop-down panels. These features turn porches into four-season living spaces.
Mount your flag where people can see it. Got columns or posts? Install the flagpole at a 45-degree angle from the main support beam. Keep it 5-6 feet above the porch floor. This keeps the flag visible from the street. Plus, it clears your furniture and walking paths. Got a lattice wall or slatted pergola roof? Pick the open corner closest to the street. These designs are popular now for controlling light.
Think about how you use your porch. Here's the thing: 77% of homeowners don't use their outdoor spaces enough. Don't let your flag compete with dining areas (55% eat outside) or gathering spots (48% host parties). Put poles along the edges. Never in the center—that's where 72% of people relax.
Match your materials. Most regions use concrete porches. But New England prefers treated wood, composite, or natural stone. Your mounting hardware needs to match. Use masonry anchors for concrete. Use lag bolts for wood. Pick weather-resistant nylon flags for these open spaces. They handle the weather better. And here's a tip: many homeowners now use curved designs and soft neutral colors. Your flag colors should work with these, not fight them.
Freestanding Flagpoles in Yard
A freestanding pole in your yard creates a permanent landmark. It stands alone without needing walls or support structures. Get the proportions right and your display looks professional instead of amateur.
The 1/4 to 1/3 rule controls everything. Your flag length must equal one-quarter to one-third of your pole height. This isn't optional. Too small? The flag disappears against the pole. Too large? It wraps around the pole in light wind or strains the hardware. Most residential yards use 20-foot poles with 3' x 5' flags. This combination works for typical suburban lots. It won't overwhelm the space.
Match pole height to your property size. A 20-foot pole fits standard quarter-acre lots. Larger properties—half-acre or more—can support 25-30 foot poles with 4' x 6' or 5' x 8' flags. Commercial properties and buildings need bigger setups. A 40-foot pole needs at least a 6' x 10' flag. A 60-foot pole requires 10' x 15' flags or larger.
Here's what the numbers mean in practice. Your basic 20-foot residential pole accepts two flag sizes: 3' x 5' (the safe minimum) or 4' x 6' (the maximum before proportions look wrong). Step up to 25 feet? You're choosing between 4' x 6' or 5' x 8'. Each five-foot increase in pole height lets you add one size to your flag options.
Flying multiple flags changes the math. Stack flags on one pole and the top flag dominates. On a 20-foot pole, pair a 3' x 5' flag on top with a 2' x 3' flag below. Maximum setup: 4' x 6' on top, 3' x 5' below. Double these dimensions for 40-foot poles—6' x 10' and 5' x 8' minimum, or 8' x 12' and 6' x 10' maximum.
Position matters as much as size. Set your pole where it's visible from the street. Keep it away from overhead power lines. Most cities require 10-foot minimum clearance from utilities. Pick the highest point on your property if you can. Elevation adds visual impact. You won't need a taller pole.
Wall-Mounted Flagpoles
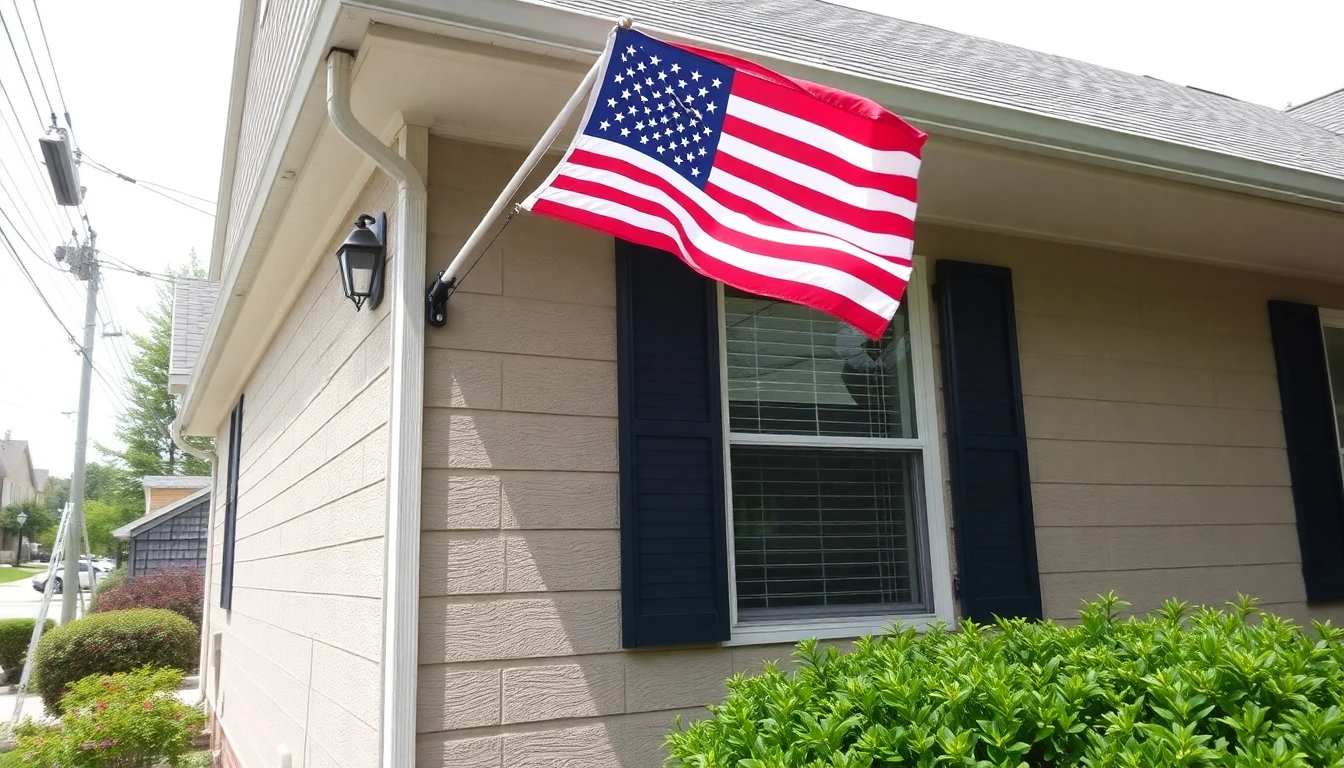
Wall-mounted poles skip the digging. They attach to your building exterior—no concrete footings, no yard excavation, no underground work. Drill into the wall, bolt the bracket, and you're done.
Residential setups stick with 6-foot poles. This length handles flags up to 2 feet wide. The ratio works like this: flag length equals one-quarter to one-third of pole length. A 6-foot pole maxes out at 24 inches of flag width. Common residential poles come in 5', 6', or 8' lengths. You can choose aluminum, fiberglass, or wood. Finishes include black, white, silver, gold, or wood grain. Pick what matches your siding or trim.
Commercial buildings need longer poles. Business setups use 8-12 foot poles minimum. These support 3' x 5' to 5' x 8' flags based on height. Four series handle different needs:
Vertical Wall Mount Series (EVWM) runs 8' to 17' long. Butt diameter measures 2-3/8", top diameter 1-7/8". Wall thickness: .140". Weight spans 31-47 pounds. Made for 3' x 5' flags.
Standard Series (EVWS) offers more length options: 8' through 27' in nine sizes. Butt diameter jumps to 3", top stays at 1-7/8". Thinner wall at .125". Weight range: 31-67 pounds. Also sized for 3' x 5' flags.
Heavy-Duty Series (EVW/EVWAF) starts at 12 feet, tops out at 30 feet. Butt diameter goes up to 3-1/2" or 4". Top diameter: 2-3/8". Same .125" wall thickness. Weight climbs from 44 to 178 pounds. Handles flags from 3' x 5' up to 5' x 8'.
Large Commercial Series (LVW/LVWC) covers 20', 23', and 25' poles. Butt diameter hits 5", top measures 3". Thickest wall at .125" to .188". Weight: 97-115 pounds. Built for 4' x 6' flags.
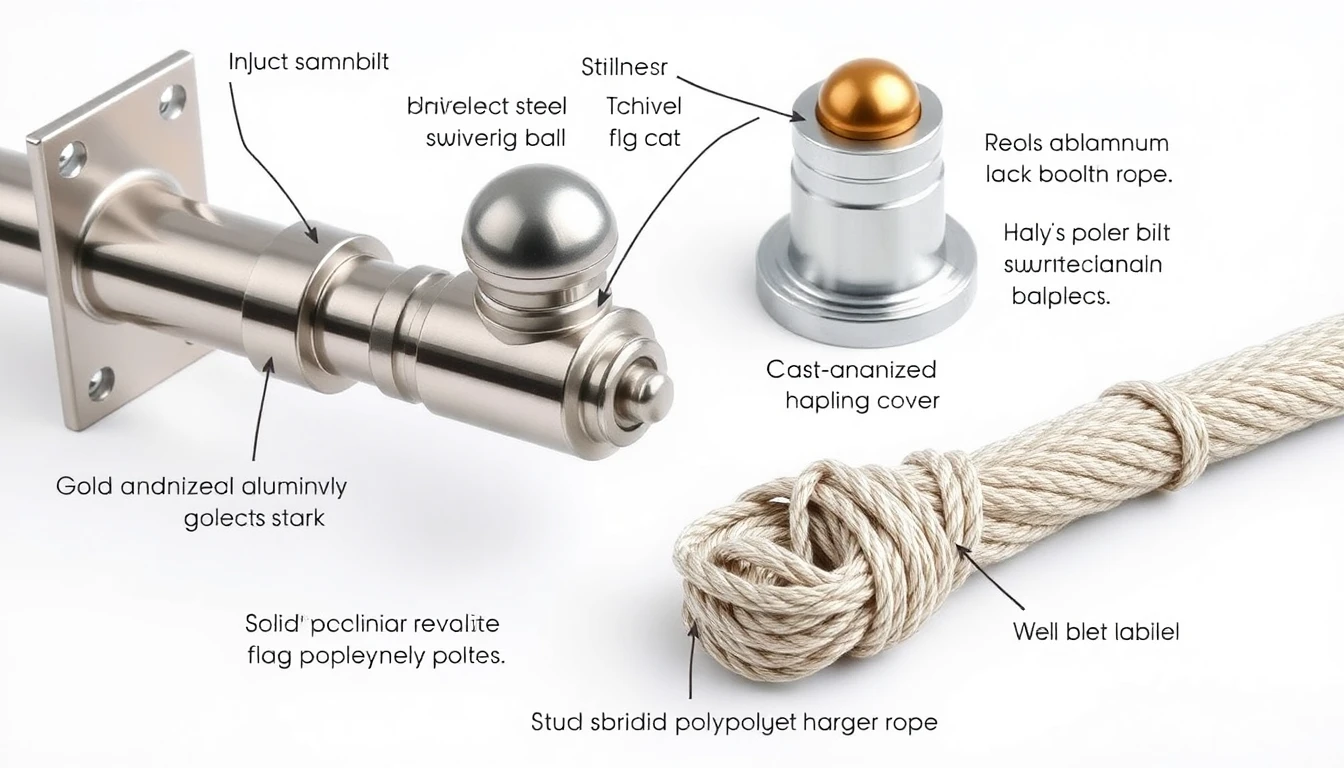
Hardware decides how long your pole lasts. Cast aluminum brackets hold better than stamped steel. Adjustable mounting options help with uneven walls. Flag attachment methods change by pole diameter. Poles 3-1/2" to 6" use swivel flag snaps with vinyl covers. Smaller poles take nylon snaps. Premium models come with stainless steel clips. Add a gold anodized aluminum ball finial on top. Larger poles (5" and 6") need cast aluminum revolving trucks. Solid braided polypropylene halyard lasts longer than twisted rope.
Telescoping Flagpoles
These poles collapse and extend without ropes or pulleys. You adjust the height by hand—pull one section up, lock it in place, repeat. No ladders needed. No complex rigging. No tangled halyards at 3 AM during windy nights.
Build quality makes the difference. Base diameter and wall thickness give you the strength profile. Light-duty poles measure 2.5 inches at the base. The walls are 14-gauge. They handle 75 mph winds. Heavy-duty models go up to 3.0 inches with 12-gauge walls. Wind rating: 95 mph. Premium versions use 11-gauge aluminum. That's thicker than the 16-gauge standard most competitors ship. The extra metal pays off during storms.
Sections stack inside each other. Light-duty poles have three sections with two joints. Heavy-duty models add one more section and joint. That's four sections total and three joints. Delta brand uses pin-lock mechanisms at each joint. Titan brand uses patented interlocking sleeves. You twist, they lock, they hold. Both systems work better than twist-locks that loosen over time.
Height options run from 15 to 35 feet. The 15-foot and 20-foot light models install at 18.5 feet actual height. They support 3' × 5' flags. Step up to the 20-foot and 25-foot heavy-duty versions for 4' × 6' flags. All models accept two flags at once. The double harness ring comes standard. Position one flag at the top. Drop the second one section below.
Installation takes one hour. Dig a hole 28 inches deep and 14 inches wide. Pour 4 inches of pea gravel at the bottom. Drop in the ground sleeve—ABS plastic or 18-inch PVC depending on the kit. Mix 240 pounds of concrete. Set the sleeve plumb. Let it cure. Slide your pre-assembled pole into the sleeve after the concrete hardens. Done.
The kits include everything. You get the pole, ground sleeve, premium nylon US flag with sewn stars, 3-inch gold ball topper, dual-flag hardware, and installation instructions. Light-duty kits ship in 88" × 5" × 5" boxes. They weigh 15-21 pounds. Heavy-duty kits arrive in 96" × 5" × 5" packages. They weigh 17-23 pounds.
Materials resist weather. Titan uses 6105-T5 anodized aluminum. The anodized finish blocks rust, scratching, and chipping. Maintenance: zero. Heavy-duty models claim aircraft-grade quality. Uncommon USA models skip ropes, chains, and pulleys. No noise. No maintenance. No moving parts to replace.
Height adjustments happen in seconds. Lower the pole one section to bring your flag down for half-staff display. Raise it back up after the period ends. No tools required. The 360-degree swivel clips keep flags rotating freely. They won't wrap around the pole in changing wind.
Pricing runs $239 to $369. A 16-foot silver model costs $239. The 20-foot version: $269. Twenty-five-foot poles range from $319 to $369. Finish options affect the price. Bronze costs more than silver. Titan offers a limited lifetime warranty on their models.
Pergola or Gazebo Mount
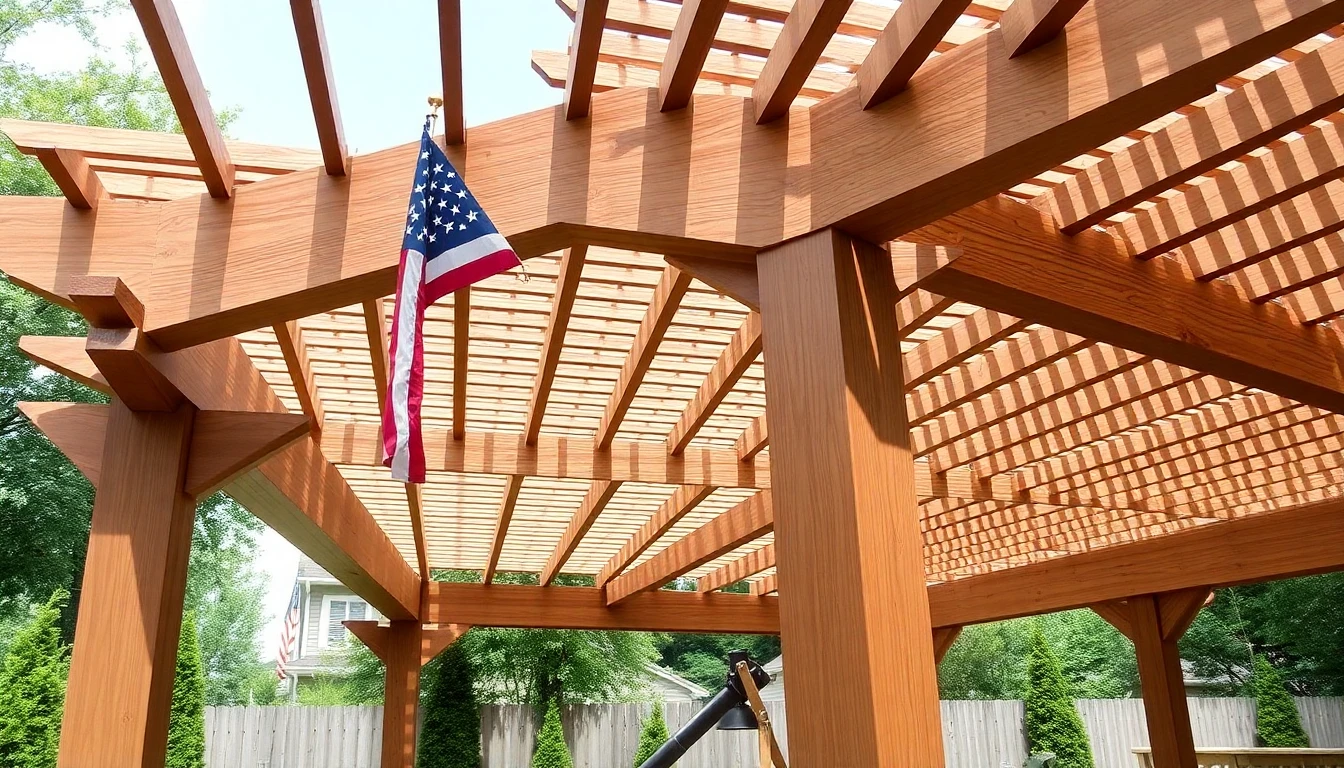
Pergolas and gazebos create shaded outdoor rooms. The overhead beams and open lattice frame your flag. They also protect it from full sun.
Headroom sets your mounting height. Standard pergolas keep 8 feet clearance to the bottom beam. Never go below 7 feet. You'll risk head injuries and awkward postures. Sloped yards need longer posts. Step-down areas need extra height. Mount your flagpole bracket to side posts, not overhead beams. Position it 6-8 feet above the deck surface. The flag stays visible from outside. It also clears the roof framework.
Measurements work a bit different here. A 13' × 19' freestanding pergola gives you 10' × 16' post-to-post dimensions. The rafters extend 1'6" past each post. Attached versions measure wall-to-post distance instead. Your 13' × 19' attached unit spans 11'6" on the rafter side. It spans 16' on the beam side. Pick corner posts for flag mounting. They're the most stable. Standard posts measure 3.1"L × 1.6"W × 82.7"H. Thick models go 2.4 inches. This helps with load bearing.
Bracket placement matters. Install hardware on the street-facing corner. Use lag bolts for wood posts. For aluminum frames, drill pilot holes first. Then use stainless steel mounting screws. Freestanding structures near buildings need 2-inch clearance between pergola and wall. This gives you room to work. Choose 5-6 foot poles for these spaces. Longer poles mess up the look.
Fence or Gate Display
Fences and gates frame your property line. They're vertical, visible, and already built. Use them.
Mount brackets to fence posts. Wood posts take lag bolts. Vinyl or composite posts need backing plates inside the hollow channels. Metal posts work with U-bolts or welded brackets. Position your flagpole 6-7 feet above ground level. This keeps the flag visible over the fence line. Plus, it clears foot traffic below.
Gate-mounted flags swing with the gate. This works on solid gates that stay closed most of the time. Install brackets on the street-facing side of your gate frame. Use the hinge-side post, not the latch side. The hinge side stays stable. The latch side flexes each time someone opens the gate. A wobbling flag looks sloppy.
Picket fences need different hardware. You can't bolt through thin pickets. Mount a vertical sleeve to a 4x4 post instead. Slide your flagpole into the sleeve. This gives you a stable setup tied to your existing fence. Works for both decorative and privacy fencing.
Check local fence height limits first. Most areas cap fences at 6 feet in backyards, 4 feet in front yards. Your flagpole adds height. A 6-foot pole on a 6-foot fence creates a 12-foot structure. Some areas count this as a block. Check the rules before drilling.
Weather-resistant flags last longer on fences. Fence-mounted flags sit lower than roof or pole-mounted flags. They catch more debris, yard spray, and sprinkler mist. Choose all-weather nylon. Skip cotton or lightweight polyester. These materials shred fast in outdoor conditions.
Balcony or Porch Railing
Your balcony or porch already has railings. They stand vertical. They're sturdy. They're ready for a flag.
Check the height first. Your railing needs at least 36 inches from floor to top rail. California and Washington require 42 inches for residential decks. Commercial buildings and apartment properties need 42 inches everywhere under IBC rules. Measure your railing height before buying mounting hardware. A 30-inch railing can't support a flagpole. It also breaks code if your balcony sits more than 30 inches above ground.
Spacing affects your mounting options. Balusters—those vertical bars between posts—can't gap more than 4 inches. This stops kids and pets from slipping through. The 4-inch sphere rule applies from base to minimum guard height. No opening can let a 4-inch ball pass. Posts sit up to 6 feet apart. Attach your flagpole bracket to a post. Skip the space between balusters. Posts carry the weight better.
Your railing must hold 200 pounds. Building codes demand this load capacity in any direction at any point along the top. This handles leaning, pushing, and pulling forces. A flag bracket adds little stress once installed. Check that your railing meets code before drilling. Older railings might fall short.
Pick the corner post closest to the street. Install a 5-6 foot flagpole at a 30-40 degree angle from vertical. This keeps the flag visible from below. It clears the railing plane too. Metal railings need stainless steel U-bolts. Wood posts need lag bolts. Glass panel systems need specialty clamps. These clamps attach to the mounting frames, not the glass.
Pathway or Driveway Lining
Line your driveway or walkway with flags. You create a grand entrance. This works for special events—graduations, holidays, memorial services. Businesses use this for year-round curb appeal too.
Mount flags to temporary bases along the edge. Space them 8-12 feet apart. Closer spacing looks crowded. Wider spacing breaks the visual line. Ground stakes work for grass or soil edges. Weighted bases handle paved surfaces. Each flag needs a 5-6 foot pole. Taller poles catch wind and tip over. Shorter ones get hidden behind cars.
Pick materials that handle vehicle traffic. Asphalt driveways cost $4-6 per square foot. They get sticky in summer heat. Your flag bases need stability here. Concrete stays cooler. Pervious concrete runs 5-8 inches thick. It has 15-35% void content. The voids drain water fast. But they create bumpy surfaces for light flag stands. Use weighted bases—minimum 15 pounds each. Skip ground stakes. They won't grip well.
Permeable pavement needs different planning. The reservoir layer sits at least 4 inches below the surface. It uses AASHTO No. 57 stone for pervious concrete. Or AASHTO No. 2, 3, or 5 for porous asphalt. These materials move under heavy weight. Don't drill into permeable surfaces. You'll damage the drainage system. Place flags on grass strips between pavement and property line.
Weather-resistant nylon flags handle driveway conditions best. They resist car exhaust, road dust, and sprinkler spray better than polyester or cotton. Replace them every 90 days if you display them every day. Every 6 months if you use them on weekends only. Faded flags destroy the professional look you're building.
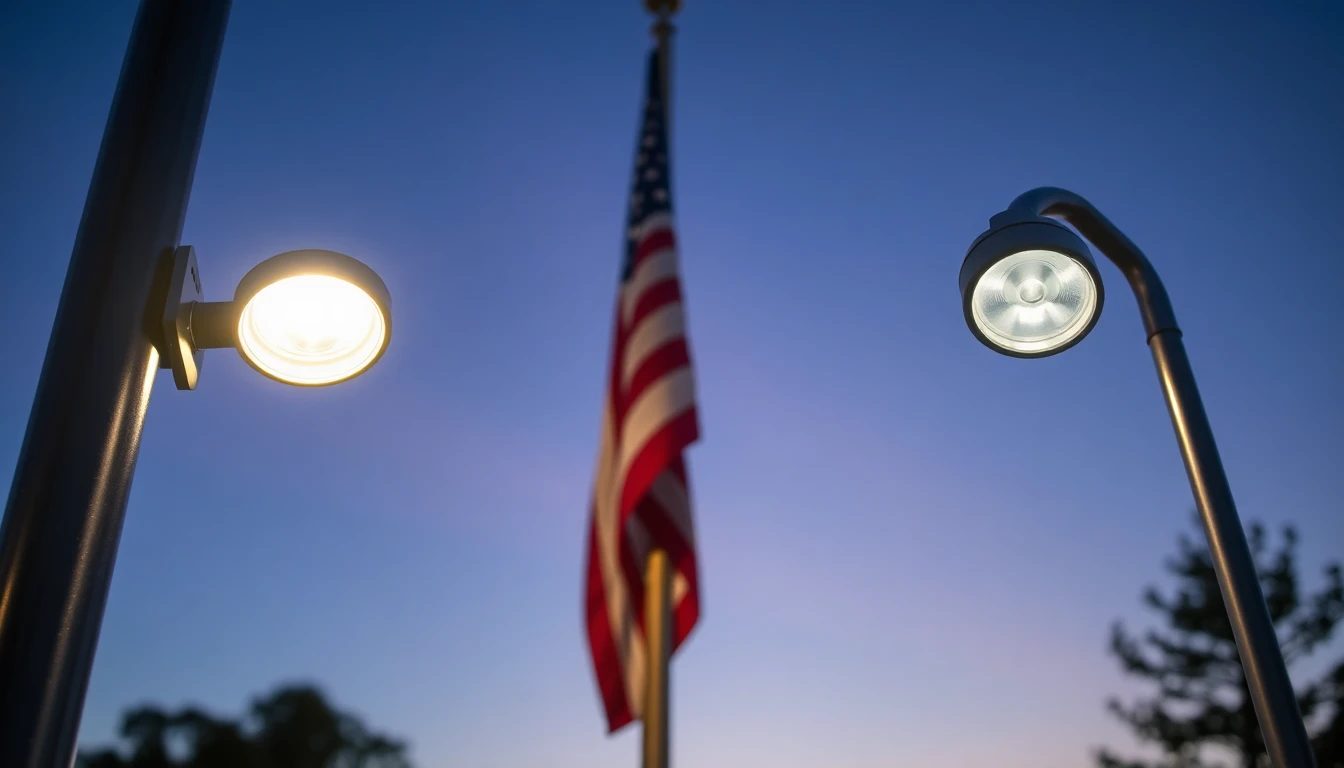
Illuminated Display

The U.S. Flag Code is clear: Display the flag from sunrise to sunset on buildings and stationary flagstaffs. Want a patriotic effect? You can fly it 24 hours a day. Just make sure it has dedicated lighting after dark.
Proper illumination means dedicated lighting. Streetlights don't count. Porch lights don't count. Your flag needs its own light source aimed at it. The light must make the flag easy to recognize from a reasonable distance. That's the standard. Not "sort of visible" or "you can tell it's there." People should see colors, stripes, and stars after dark.
Solar-powered flagpole lights install in minutes. They clip onto poles 15-25 feet tall. The solar panel charges during the day. LED bulbs kick on at dusk. Most models produce 100-300 lumens. That's enough for 3' × 5' to 4' × 6' flags. No wiring. No electricity bills. Replace the battery every 2-3 years.
Hardwired spotlights work better for larger setups. Mount them 10-15 feet from the pole base. Aim upward at a 30-45 degree angle. Use LED bulbs rated 500+ lumens for flags 5' × 8' or bigger. Wire them to photocell sensors. The lights turn on at dusk without switches or timers. Run the electrical line underground if possible. Exposed wiring looks cheap.
Commercial flagpoles need brighter systems. A 40-foot pole with an 8' × 12' flag requires multiple spotlights. Position three fixtures around the pole base. Space them 120 degrees apart. Each fixture needs 1000+ lumens. This eliminates shadows and dark spots. The flag stays lit from all viewing angles.
Halogen bulbs cost less upfront but eat more power. A 150-watt halogen fixture draws 12.5 amps each month. LED equivalents use 20-30 watts. That's 80% less energy. LEDs also last 25,000-50,000 hours. Halogens burn out after 2,000-4,000 hours. Do the math: you'll replace halogen bulbs 10-12 times before one LED fails.
Union Positioning Rules
The union—that blue field with white stars—always goes in a position of honor. This isn't optional. U.S. Code Title 4, Chapter 1, Section 7 makes it law.
Vertical display on walls or windows: union at the top left. Hang your flag in a hallway, storefront window, or office lobby. The stars sit in the upper left corner from where people view it. This works for both portrait and landscape setups. Stand in front of the flag. The union sits on the flag's own right—people call this the "observer's left." Turn around. The union stays in the same spot of honor.
Horizontal suspension across a street or from a building: union to the north or east. East-west streets get the union facing east. North-south streets get the union facing north. This matters during parades, ceremonies, and permanent city displays. Cities break flag code every year by hanging banners the wrong way during festivals. Don't be that city.
Against a wall with the union away from the wall: union at flag's own right. This setup works for mounting a flag flat against a vertical surface using a staff. The pole angles away from the wall at 30-45 degrees. The union stays at the top of the staff—the flag's own right, upper corner. Never reverse this. A union pointing down signals distress.
In a window display facing outward: union to viewer's left. Your neighbors see the stars in the upper left corner as they walk or drive past. From inside your house, you'll see the union on the upper right. That's correct. The rule puts the public view first, not your indoor view.
On a vehicle: union forward toward the front. This makes the flag look like it's streaming backward as the vehicle moves forward. You get a visual of motion and progress. Military vehicles, police cars, and parade floats follow this standard. The flag "charges" forward into battle, into service, into whatever mission lies ahead.
Casket draping: union at the head, over the left shoulder. Military funerals and state ceremonies follow this placement. No exceptions. The union sits above the deceased's left shoulder after the casket is closed. After the service, the honor guard folds the flag thirteen times into a triangle. The union is the part that shows in the final presentation.