Your team's banner has one job the moment someone walks into that gym, stadium, or trade show floor — grab attention, or get ignored. Most teams end up with the second option without knowing it. A blurry logo on a generic color block isn't branding. It's just visual noise.
The good news? Great custom team banner design doesn't need a graphic design degree or an expensive agency. You just need to know which decisions actually matter — color contrast, font legibility, layout hierarchy, print-ready file specs — and make each one with purpose.
These six battle-tested banner design principles cover every critical choice. From the first pixel to the final print order, each step helps your banner command attention before anyone reads a single word.
Tip 1: Define Your Banner's Goal Before You Touch Any Design Tool
Here's what separates a banner that works from one that just... exists: purpose.
Skip the font debates. Don't drag your logo onto a canvas yet. Don't argue over whether the team color is navy or royal blue. First, answer one honest question: What is this banner supposed to do?
That answer shapes every decision that follows.
A banner built to build brand recognition at a tournament needs different visual choices than one built to drive walk-ins at a local event. One puts a memorable logo and team identity front and center. The other needs a bold call-to-action readable from 30 feet away. Treating both the same leads to a design that fails at both jobs.
Think about your banner's goal in clear, concrete terms:
Who needs to see it? Parents in the bleachers, rival teams, event sponsors, potential recruits?
What's the one thing you want them to do or feel? Recognize your team on sight. Remember your name. Walk over to your booth.
Where will it live? Outdoor vinyl banners in direct sunlight need different legibility than indoor fabric banners in a gym.
Your goal also drives your layout hierarchy. Awareness is the priority? Your team logo placement on the banner becomes the dominant visual element — large, centered, uncluttered. Recruitment is the goal? Contact details and a tagline earn prime real estate instead.
Nail the goal first. Then design toward it. Every other tip in this guide depends on getting this one right.
Tip 2: Build a High-Contrast Color Scheme That Pops in Any Environment
Color does its job before your audience reads a single word. The wrong combination — even with a great logo and solid layout — turns your banner into visual noise. The right one keeps it readable from across a parking lot in full afternoon glare.
Color Contrast Rule
Large text needs a minimum 4.5:1 contrast ratio between text and background. Test with WebAIM Contrast Checker before printing.
Contrast is the core rule, and you can measure it. Large text (anything above 18pt) needs a minimum contrast ratio of 4.5:1 between text and background. Go below that threshold and legibility breaks down — outdoors especially, where sunlight washes out weaker combinations. Use tools like the WebAIM Contrast Checker or APCA Calculator to test your exact HEX codes before anything goes to print.
These color pairs perform well on sports banners:
| Combination | Best For | Why It Works |
|---|---|---|
| Navy + Orange | Team identity, outdoor events | High natural contrast, high visibility |
| White + Deep Red | Text-heavy layouts | Crisp separation at all sizes |
| Black + Gold | Premium or varsity branding | Maximum contrast ratio, bold presence |
| Purple + Teal | Modern team aesthetics | No warm/cool temperature clash |
One accessibility note: avoid pure red-green combinations without adjusting saturation or lightness. About 8% of men have some degree of color vision deficiency. Shift the lightness values between those two hues. That fixes the problem without changing your team colors at all.
Once you settle on a palette, lock it in HEX codes . Use the same values across your design files, your printer's submission form, and any future banner updates. That stops the subtle color drift that makes reprints look off — the kind that's hard to name but easy to notice.
Your banner color scheme for sports teams isn't decoration. It's the first filter your audience uses to decide whether to keep looking.
Tip 3: Choose Fonts That Read Clearly at 30 Feet Away
Typography on a banner isn't a creative decision — it's an engineering one.
The physics are simple: 1 inch of letter height per 10 feet of viewing distance . At 30 feet, your main text needs a minimum of 3 inches tall on the printed material . Convert that to point sizes: you need 125 pt for comfortable legibility . Drop below 48 pt , and readability breaks down fast.
Most teams get this wrong. They finalize a design on a laptop screen. Everything looks crisp. Then the printed banner goes up in the gym, and the team name is impossible to read from the bleachers. The screen lies to you. The math doesn't.
Here's what the numbers look like in practice:
| Viewing Distance | Minimum Font Size | Recommended Size |
|---|---|---|
| 10 feet | 25 pt | 36 pt |
| 30 feet | 48 pt | 125 pt |
| 40 feet | 72 pt | 144 pt |
Font choice matters almost as much as size. Helvetica in mixed case — not all-caps — beats other styles at distance. Mixed upper- and lowercase letters give the eye more distinct shapes to recognize. A 4-inch mixed-case word stays readable up to 116 feet away . The same word in all-caps tops out around 100 feet. That's a 16% difference in reach from one formatting decision.
Keep your banner typography to two fonts maximum:
- One strong display face for the team name
- One clean sans-serif for secondary details like location or date
More than two fonts isn't personality — it's interference.
One final rule: never letter-space your body text tighter than default . Compressed spacing saves room on the canvas and costs you legibility in the parking lot.
Tip 4: Apply the 3x5 Rule to Keep Your Message Sharp and Scannable

79% of people scan. 16% read. Your banner audience? They're doing neither — they're glancing for half a second while walking past.
That's the real design constraint nobody talks about. It's not the vinyl material or the print resolution. It's the brutal math of human attention. And the 3x5 Rule is the simplest fix that exists.
3
Key Points Max
5
Lines Maximum
10s
Attention Window
Three key points. Five lines maximum. Full stop.
Not six lines with tight leading. Not four points because you couldn't cut one. Three and five, hard limits, every time.
Here's why it works: viewers need to spot what matters right away. Miss that window, and their brain files your banner under "background noise" — right next to the exit sign and the parking lot ticket machine. Value has to register in under 10 seconds. After that, you've lost them.
Put those three points in this priority order:
Team name — the biggest, boldest element on the banner
Key detail — location, event, or a single tagline
Action or identity anchor — a web address, sponsor logo, or date
That's it. Something doesn't fit those three slots? It doesn't belong on the banner. It belongs on a flyer.
Layout reinforces the rule. Lead with your strongest line. Use bold weight and size contrast to create clear visual entry points. The eye needs an obvious place to land first. Bulleted or stacked lines are easier to scan than sentences. So keep your secondary details out of paragraph form on a banner.
The rule isn't about minimalism for its own sake. It's about respecting the 10-second window you have.
Tip 5: Use White Space and Focal Points to Direct the Viewer's Eye
Cluttered banners don't just look bad — they work against you.
Every inch of canvas fighting for attention means nothing wins. The eye has nowhere to land. The brain stalls out. Your banner becomes part of the background. White space fixes this — not as a design aesthetic, but as a functional tool that tells viewers where to look and in what order.
The five-second rule applies here, hard. Miss that window, and the moment is gone. White space makes rapid attention capture possible. It isolates your critical message so it doesn't have to compete.
How Focal Points Work
An element becomes a focal point by standing out from everything around it. Surrounding your team name or logo with empty space does exactly that — no tricks, no gradients needed. The contrast between the element and the open space around it creates immediate pull.
Put this to work:
Give your primary element room to breathe — padding isn't wasted space, it's emphasis
Use heavier stroke weight or filled shapes around key elements to reinforce distinction
Keep secondary details smaller and grouped so they don't compete with your focal point
White Space Creates Order, Not Emptiness
Strategic spacing builds a visual hierarchy — what viewers see first, second, third. That sequence matters. Your team name leads. Your key detail follows. Your action anchor closes.
Space those three elements out clearly, and readers don't have to work to understand the layout. The design does the thinking for them. They land on your message fast, follow the flow, and leave with the right impression.
Simple sticks. Less visual noise means your core message reaches the people who matter — and stays with them.
Tip 6: Prepare Print-Ready Files for Crisp, Professional Results
The design is done. The colors are locked. The layout is tight. Then the printed banner arrives looking soft, washed out, or a little off — not because the printer failed, but because the file wasn't ready.
File prep isn't glamorous. It's also not optional.
Resolution: The Number That Determines Everything
Key Rule
300 DPI minimum for sharp output. 150 DPI is acceptable for basic work. Always use vector files for logos.
300 DPI is your floor , not your target. At 150 DPI, you'll get acceptable output for basic work. At 300-600 DPI, everything — logos, text, fine detail — prints sharp. The trap most teams fall into: upscaling a low-resolution file to hit 300 DPI. Upscaling doesn't add data. It just stretches what's already there. The result is just as blurry as the original file.
For logos and line art, use vector files . Vectors scale to any size without losing quality. Raster images — photos, textured graphics — need embedding at 300 DPI minimum. Save them as PNG or TIFF to cut down on compression artifacts.
Color Mode and Bleed: Two Settings Most People Skip
RGB is for screens. CMYK is for print. Convert your file before submitting it — use the U.S. Web Coated (SWOP) v2 profile — and verify your black is set to true black, not registration black. Registration black pulls 100% from all four ink channels and muddies large text and solid fills.
Your design runs to the banner's edge? You need a bleed : 0.125 inches per side (0.25 inches total). Add crop marks. Keep all critical content inside the safe margin. Anything in the bleed zone risks getting trimmed.
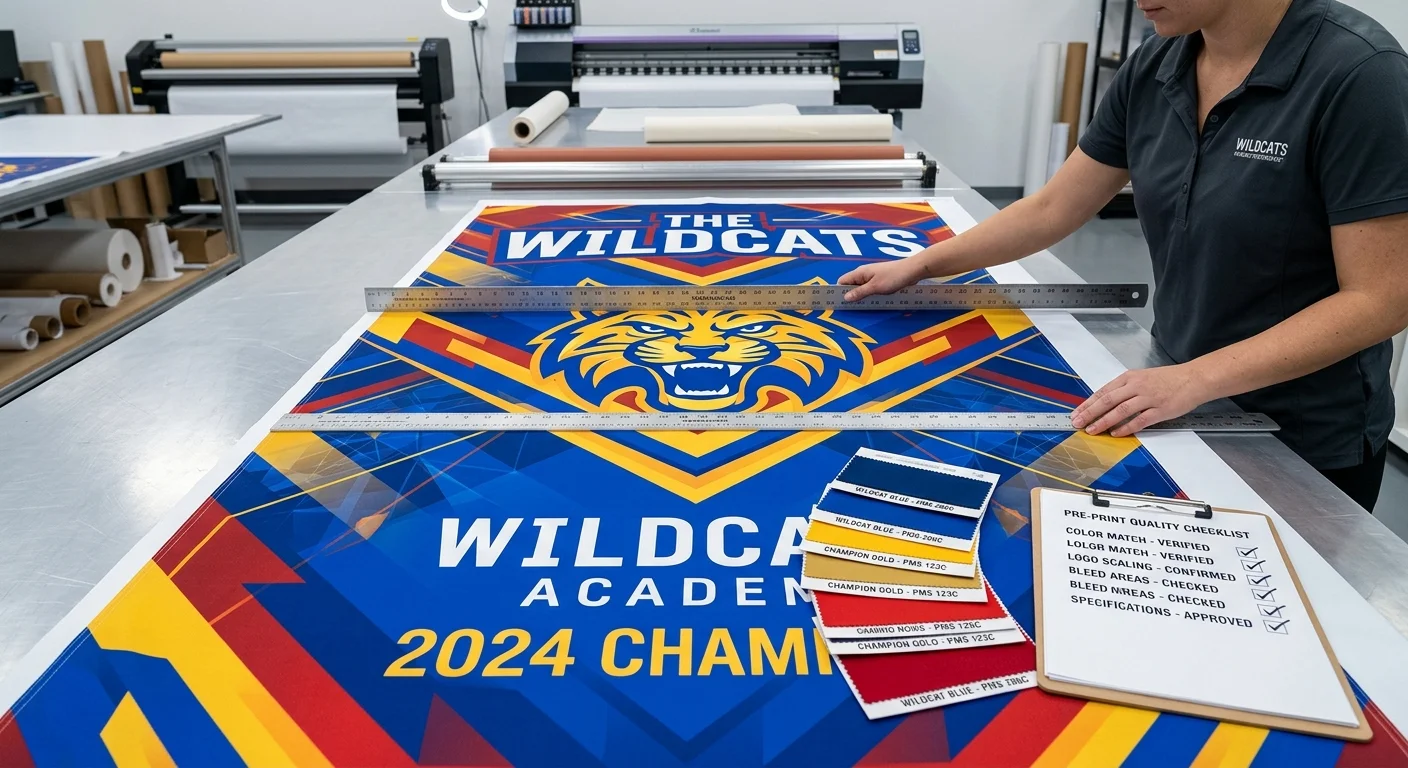
Pre-Submit Checklist
Run through this before every print order:
1
Document set to exact print dimensions + bleed, at 300 DPI
2
Color mode converted to CMYK with the correct print profile assigned
3
All layers flattened, fonts outlined or embedded, images embedded
4
Crop marks included, bleed confirmed
5
No annotations, passwords, or security settings on the file
6
File saved as PDF (preferred), or high-quality JPEG, PNG, or TIFF — never Word or Google Docs
One more thing for teams ordering across borders: always specify units . Inches and centimeters cause real, expensive mix-ups when you're submitting dimensions to a printer in a different time zone. State the unit clearly every time.
A print-ready file takes 15 extra minutes. A reprint takes weeks and costs double. That math makes the checklist worth it every time.
Pro Tip: For bulk banner orders over 50 pieces, contact our team for special pricing and free design assistance.
Custom Team Banner Size Guide: Choosing the Right Dimensions for Your Venue
Wrong size kills a great design faster than anything else. A stunning layout becomes unreadable at 40 feet away when it's half the scale it needs to be. Size isn't an afterthought — it's a foundational decision you make before the design starts.
Start here: match your banner dimensions to your venue's maximum viewing distance.
Size by Venue and Viewing Distance
| Size (inches) | Best Venue Use | Viewing Distance |
|---|---|---|
| 24 x 48 | Sponsor callouts, poles | 10-20 ft |
| 36 x 60 | Sidelines, promo areas | 15-20 ft |
| 48 x 96 | Gym walls, stadium fencing | 20-35 ft |
| 60 x 96 | Open fields, outdoor events | 30-40 ft |
| 72 x 96 | Championship displays | 35-50 ft |
| 96 x 120 | Building-facing, arena walls | 60-75 ft |
Standard team sizes that cover most scenarios: 4x6 ft (48x72 in) and 6x8 ft (72x96 in) . Need a panoramic format for a fence line or dugout? Go 3x9 ft or 4x10 ft .
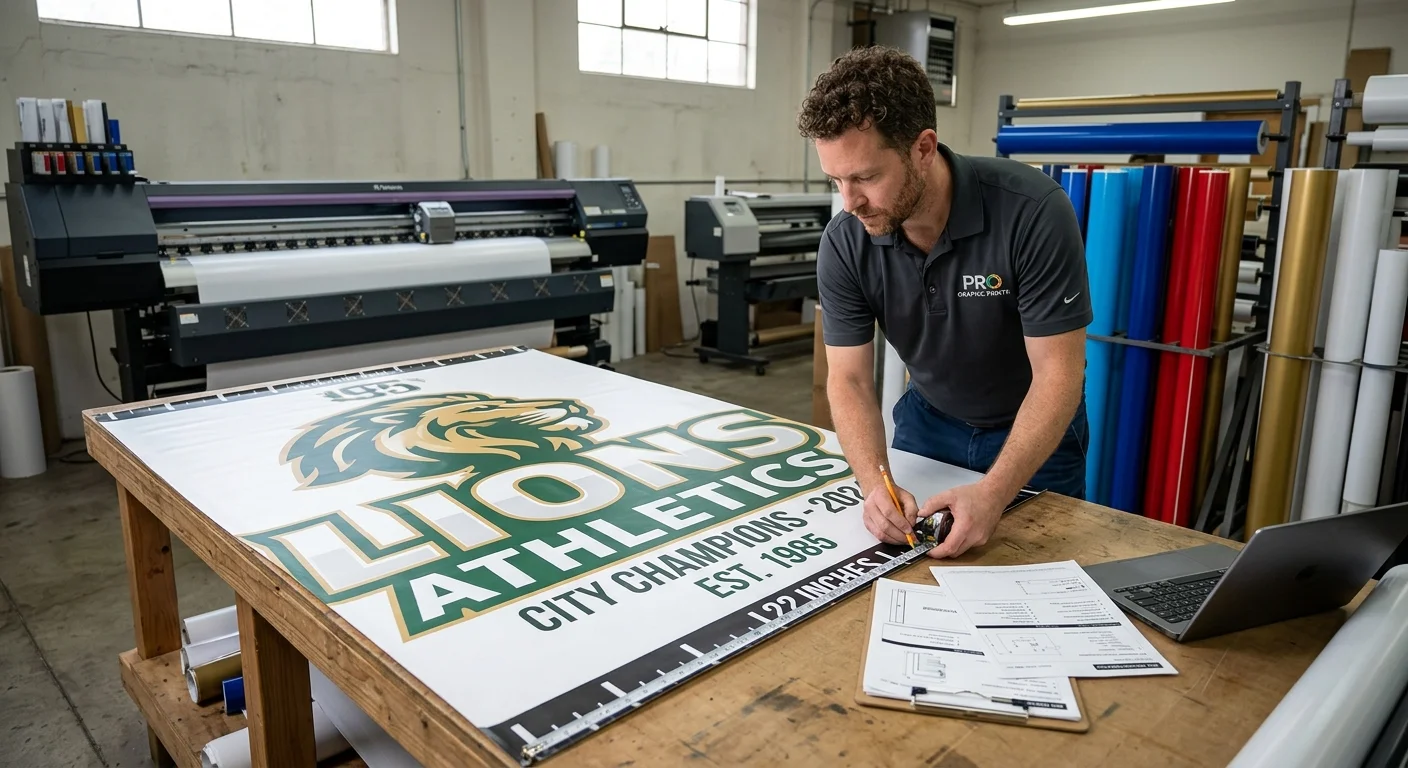
Four Steps to Pick the Right Size
Measure your space — actual wall width and ceiling clearance, not estimates
Confirm the viewing distance — where does your audience stand to see it?
Match the chart — under 10 ft: 24x48 in; 20-35 ft: 48x96 in; over 50 ft: 72x96 in or larger
Specify hanging hardware — grommets for fences, pole pockets for sideline stands
Not sure which size to pick? Go with 48x96 inches as your default . It works across gym walls, field fencing, and indoor event spaces. You can read it from a distance, hang it without a crew, and still have enough room for a full layout that doesn't feel cramped.
One final note: confirm all dimensions in inches with your printer. Centimeter mix-ups on international orders lead to expensive reprints.
FAQ: Custom Team Banner Design Questions Answered
Real questions from real teams — here are the answers that matter before you place your order.
What sizes do custom best team banners come in?
The most common sizes are 2x3 ft, 3x5 ft, 4x6 ft, 4x8 ft, and 5x8 ft . For gym walls, sidelines, and field fences, the 4x6 or 4x8 covers most situations. One person can hang either size without a crew. Smaller formats like 2x3 work well for sponsor callouts or locker room displays.
What material should I choose for an outdoor team banner?
It depends on the conditions.
Vinyl
Durable, weather-resistant, and cost-effective. The go-to choice for most outdoor events.
Mesh
Built for high-wind spots like open fields or fence lines. Air passes through so your banner won't act like a sail.
Fabric
Best for indoor use. You get a cleaner, more premium finish.
Aluminum Panels
The right pick for permanent or long-term installs. They add rigidity and last much longer than printed materials.
What finishing options do I need to hang it?
Grommets come standard on most banners. They handle the common setups — fences, walls, and railings. Hanging from rafters or a horizontal pole? Request pole pockets instead. Also, reinforced hemmed edges are worth getting. They add durability along every side of the banner.
How much does a custom team banner cost?
Pricing varies by size and material. Here's a clear breakdown:
Printed custom team banners start around $100
Digital-only design files run from $17-$150 , based on complexity
Professional design services with group photo layouts land around $35
Ordering multiple banners? Contact suppliers for bulk pricing. Discounts are common, and some vendors run promotions of 20% off select orders.
How fast can I get a banner printed?
Faster than most teams expect. Many custom flag and banner printing suppliers offer 1-day production with next-business-day shipping . Your banner can be in hand within 48 hours of approving your proof. Focus on rushing your file prep, not your approval. Review the digital proof closely before signing off — errors at this stage push your timeline back.
Do I need to submit my own design?
Most custom team banner suppliers offer a free or low-cost design service . Just provide your logo, team colors, and content details, and they handle the rest. Uploading your own artwork? Make sure your files are high resolution and print-ready. Files that don't meet print specs will trigger a revision request, and that slows down your order.
Conclusion
Great team banners don't happen by accident — they're built on intentional choices. Nail your color contrast. Keep your typography legible from across the field. Strip your message down to what matters most. Those three moves alone will put your banner ahead of 90% of what's competing for attention at any event in 2026.
Here's the truth: you don't need a design degree to get this right. You just need a clear goal, a smart layout, and a print-ready file that holds up at six feet wide.
Ready to turn these banner design principles into something real — something your team can stand behind? Head over to runcustomflag.com and start your custom team banner order today. Upload your logo, pick your size, and let the professionals handle the rest.
Your team shows up strong. Make sure your banner does too.
Video Guide
Related Articles